All Categories
Featured
Table of Contents
Living Zen Volcano Hotto Outdoor Infrared Heater Fundamentals Explained
A little number of outside heating systems are fitted with incorporated home heating controls, such as a warm dimmer button or a dial to switch between heat setups. Despite their name, these heaters are often designed solely for use in indoor or covered areas.

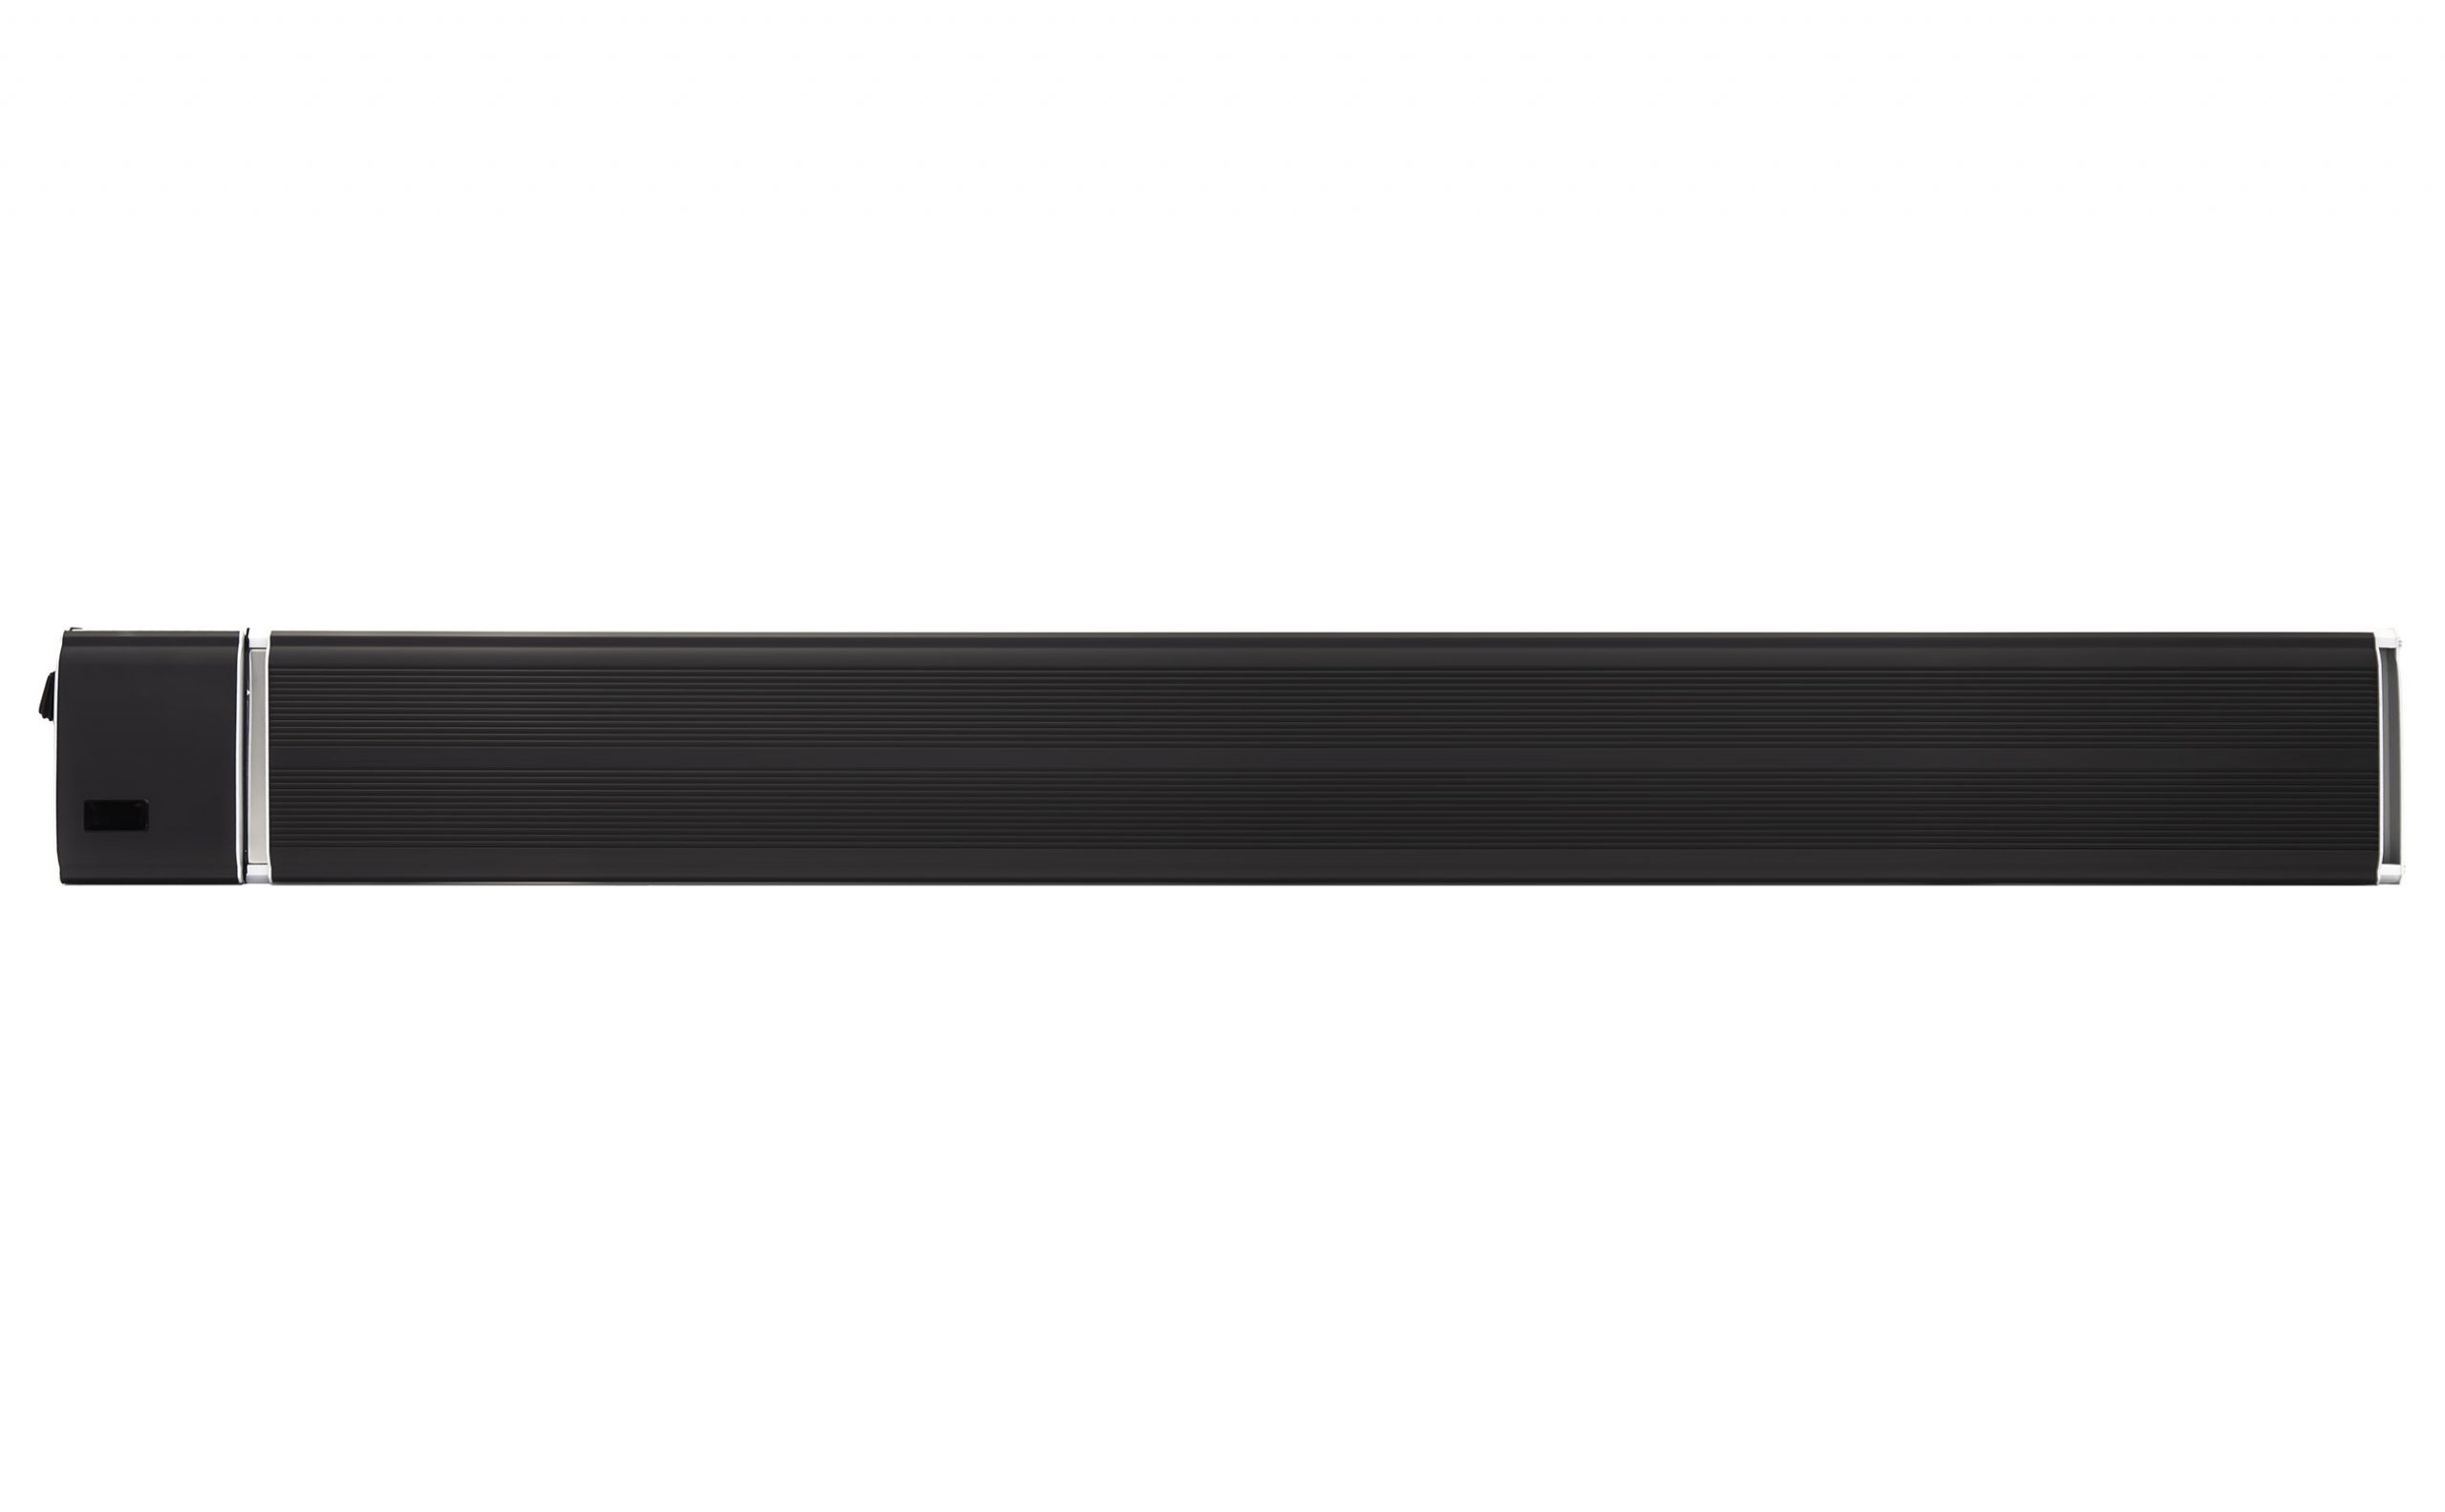
Appreciate balmy exterior enjoyable all year long from a crisp autumn evening to the coldest of winter season nights. Despite just how big or small your exterior enjoyable area we have actually got the optimal outside area heater to keep your visitors toasty warm and maintain the event going much longer.
For wall surface mounting, the least expensive part of the heating unit should be situated at or above a minimum elevation of 1. 8m from ground degree, to make sure that the heating system can not be touched when in procedure. Constantly install flat and also do not place the heating system at an angle of more than 90 and much less than 45 The heating unit ought to constantly have a minimal clearance of 0.
Not known Facts About The Uks Best Infrared Patio Heaters
The heating system must be installed on the installing brackets given. Fasten the heating unit safely on the braces using the nuts as well as screws provided. The brackets can be made use of to readjust the instructions of the heating system. Adjust the heating unit angle by loosening up the two screws on the wall mounting brace. Tighten the screws once again when the wanted angle is gotten to.
Table of Contents
Latest Posts
How Exclusive Range Of Gas, & Patio Heaters - Best Outdoor can Save You Time, Stress, and Money.
Facts About How To Clean & Season Your Bbq Cooktop Before First Use Revealed
Best Can 10 Of The Best Portable Bbqs To Make Your Summer Sizzle in 2022
More
Latest Posts
How Exclusive Range Of Gas, & Patio Heaters - Best Outdoor can Save You Time, Stress, and Money.
Facts About How To Clean & Season Your Bbq Cooktop Before First Use Revealed
Best Can 10 Of The Best Portable Bbqs To Make Your Summer Sizzle in 2022